SharePoint Online: How to convert Modern Site Page as News Post?

News Webpart has a option to create "News post" or "News link" from the webpart itself. They will be created as pages in Site Pages library and will show up as news in News webpart.

But if you create a "Site Page" or "link" from Site Pages library, they wont show up on news webpart.

So, we have do the following step to post our Site Page as a news webpart.
Go to the Page created using the "Site Page" option from Site Pages library and click on "Promote"

It will give the below options. Click on "Post as News on this Site". Now your Site Page will show up on News Webpart.

Also "Save as page template" will give option to save your page as a template and it can be used for to create pages in the future


Power Automate: Schedule Flow: Get items and send email to multiple users selection field for each item which includes multiple choice field too.

To send email to all the users at a time you can check my previous article - Combine values of Multiple Person or Allow Multiple Choice field to send email

But, For schedule flow, If using "Get items" and the list contains "Multiple Person Selection" field and a "Multiple Choice" field and we have to send email for each item separately, then the following steps works perfectly.

I use "Parse JSON" for this flow.

1. We need to Initialize 2 variables for each field. For person field I created "varMultiplePerson" and "varJSONPerson" and for choice field I created "varMultipleChoice" and "varJSONChoice" field.


2. If you have a condition, now set the variables to following fields or values based on requirement. If there is no condition, then set these variables on Intializing step above itself.
varMultiplePerson: The value has to be set to "Multiple Person" field directly. Don't set the field to "Multiple Person Email" or "Multiple Person Display Name" etc.,
varMultipleChoice: The value has to be set to "Choice" field directly. Don't set the field to "Choice item" or "Choice value"
varJSONPerson and varJSONChoice: These both fields will be set to null. Go to "Add Dynamic Content" and go to expression and set it to null.

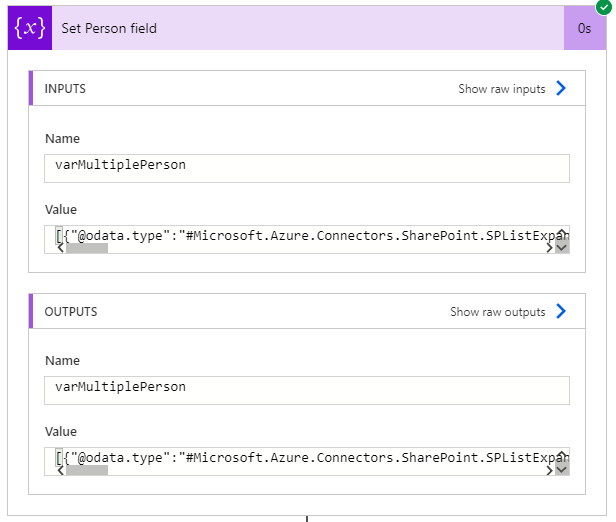
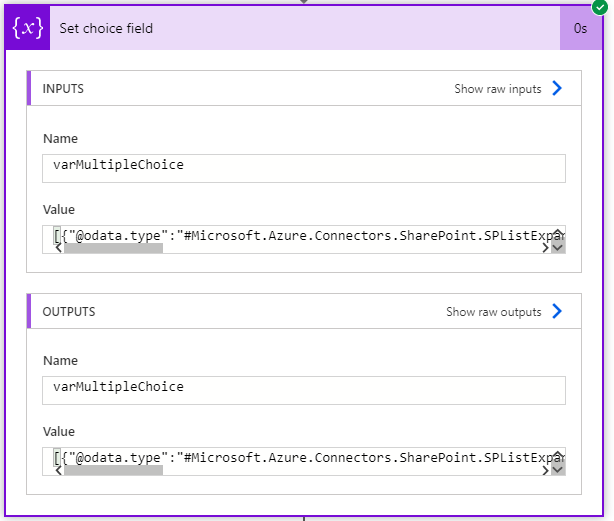
3. Now save the flow and run it once. When you go to flow history and check the latest flow, you will see the values for varMultiplePerson field and varMultipleChoice variables as below. 
Copy the value text and save them to a notepad. You need them when we parseJSON for both fields.


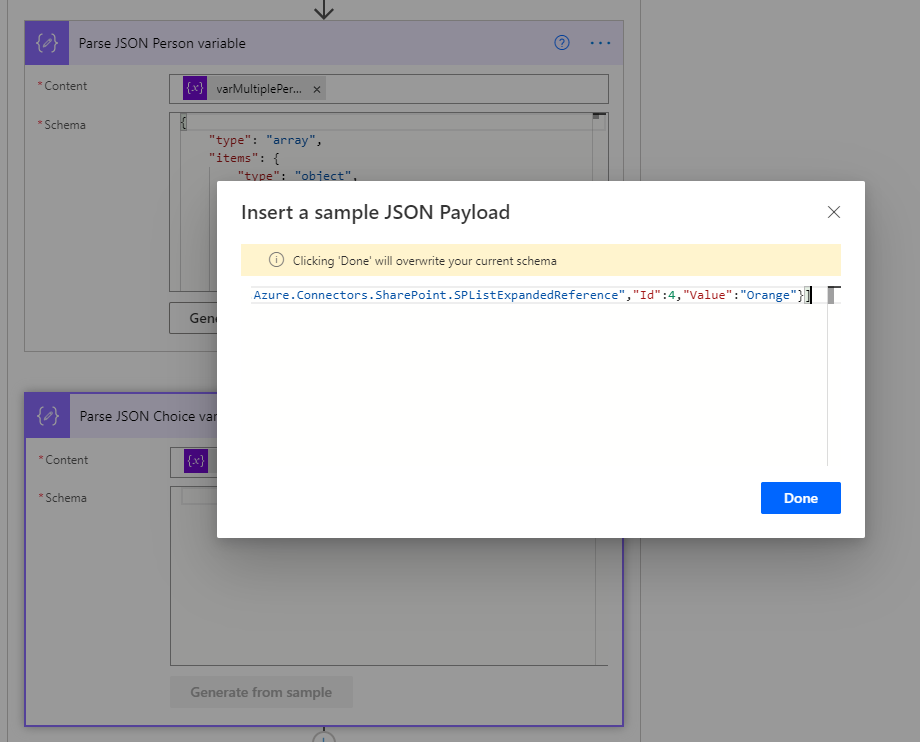
4. Now add 2 "Parse JSON" steps. 
For first "Parse JSON" step content add "varMultiplePerson" and for schema click on "Generate from sample" and add the varMultiplePerson value from step 3
For 2nd "Parse JSON" step content add "varMultipleChoice" and for schema click on "Generate from sample" and add the varMultipleChoice value from step 3


5. Both ParseJSON steps should look like below.

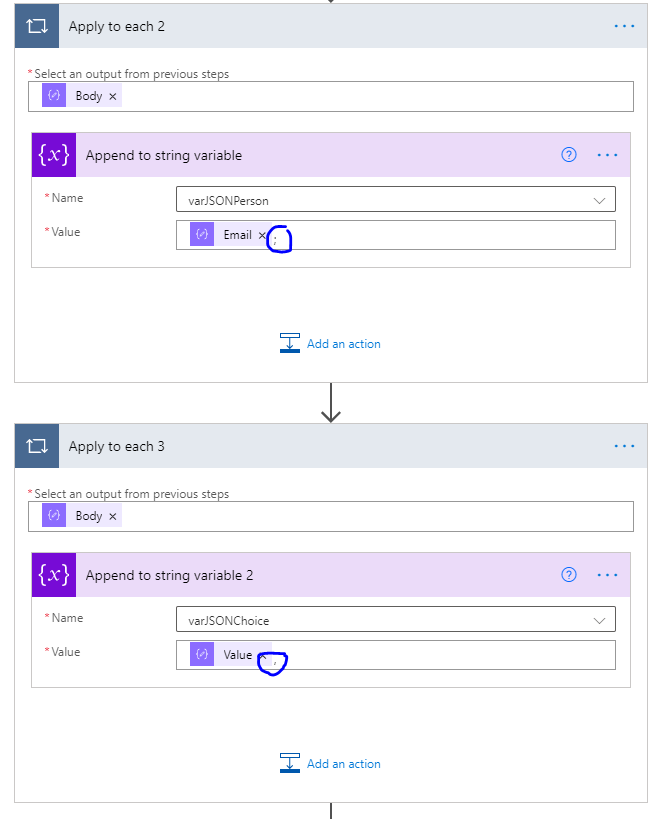
6. Next step is to add "Append to string variable" and select "Email" from JSON Dynamic content for person and select "Value" from JSON Dynamic content for choice fields.


7. I choose to add ";" for Email and "," for Choice value fields inside the "Append to string variable". This way while appending the values, they are separated by mentioned symbol above.


8. Add 2 compose steps and assign "varJSONPerson" and "varJSONChoice"


9. Add Compose outputs to the email.


This worked perfectly for me when I need to send scheduled reminder emails for each item separately. Also the "Person field" Allows multiple selections and "Choice field" which I need to mention in the subject is also a "Multi-Selection" choice field.

Please comment below if you face any issues with the above scenario. Also if you have any scenarios that need help, please do comment below.


Power Automate: Combine values of Multiple Person or Allow Multiple Choice field to send email

I have a list with Multiple Choice or Multiple Persons field. I have to send email to Multiple persons and mention Multiple Choice also in that email.

If you try to choose the above fields directly while sending an email, there will be 2 Apply to each controls as below.


To avoid this, follow the below steps. This works better if you are using "when an item is created or modified" or if are using "Get items" step and want to send email for all users at a time.

1. Initialize 1 array variable each for Multiple Choice and Multiple Person field.

2. Use "Append to Array Variable" for both choice and person fields. For Choice field use the "Choice Value" and for Person field use "Person Email".
3. Use Join "Data Operation" to combine all the values using ";" for Person variables and ";" or "," for choice fields based on requirement.

4. Use outputs from Join operation to send email. 


Remote Connection: An authentication error has occured

When trying to connect to a Remote desktop I am receiving the following error. 


The above error has occured due to microsoft update. The following changes has to be done on your PC to connect to the Remote Desktop.

Fix No 1: 

Go to Run --> gpedit.msc --> Computer Configuration --> Administrative Template --> System --> Credentials Delegation --> Click on Encryption Oracle Remediation

Set "Encryption Oracle Remediation" to Enabled and "Protection Leven" to Vulnerable. Click on Apply and Ok.

Fix No 2:
For me when i went to RUN and enter gpedit.msc, I go an error saying windows couldn't find it. So went ahead with the following fix.

Go to RUN --> Enter REGEDIT click ok --> Computer -> HKEY_LOCAL_MACHINE -> SOFTWARE -> Microsoft -> Windows -> CurrentVersion -> Policies -> System

Right Click on System --> New --> Key --> rename the folder as "CredSSP"
Again Right Click on CredSSP --> New --> Key --> rename folder as "Parameters"
Again Right Click on Parameters --> New --> "DWORD (32-bit) Value" --> Enter filename as "AllowEncryptionOracle". Double click on AllowEncryptionOracle and set Value to "2".


Any of the above fixes and resolve the RDP issue.


Install or Enable Hyper-V on windows servers

Steps to install or enable Hyper-V is mostly same for any windows servers.

Go to "Programs and Features" --> Click on "Turn on windows features on or off" --> Select Hyper-V --> Install those features.


What if "Hyper-V Platform" is disabled in above windows features?
Then you have to enable Virtualization in the BIOS. This depends based on your Mother board. As I am using ASUS MB Gaming X570-PLUS mother board, I did following steps. Depending on your mother board you can google and enable virtualization.

Go to BIOS --> Advanced --> CPU Configuration --> Set SVM Mode to Enabled.

Now you can repeat the above steps again to install the Hyper-V features.